Quickstart
Deploy your first MCP server on Manufact Cloud in a few minutes.
This guide walks you through deploying an MCP server from a GitHub repository and connecting it to an AI client.
Prefer to have an agent do it? Copy the onboarding prompt and paste it into Cursor, Claude Code, or Codex — or fetch it directly at manufact.com/prompt.md.
Choose your path
| Path | Best for | Guide |
|---|---|---|
| Deploy from GitHub | Full hosting, auto-deploys, analytics | This quickstart (below) |
| Connect by URL | Server already hosted elsewhere | Connect an existing server |
| Build with an agent | Starting from scratch | Onboarding → Create or copy the prompt above |
First time in Manufact? The onboarding wizard walks you through organization setup and these same three paths.
Before you start
You need:
- A Manufact Cloud account: the Free plan covers your first server.
- One of: a GitHub repository with an MCP server, an existing MCP URL to connect, or a coding agent to scaffold a new project.
If you don't have a server yet, use the agent prompt above, start from a template, or follow Connect an existing server if you already have a URL — see Creating servers.
1. Create an organization
When you first sign in, the onboarding wizard asks you to create an organization. Organizations own servers, billing, and team members. You can create more organizations later from the organization switcher.
2. Import your repository
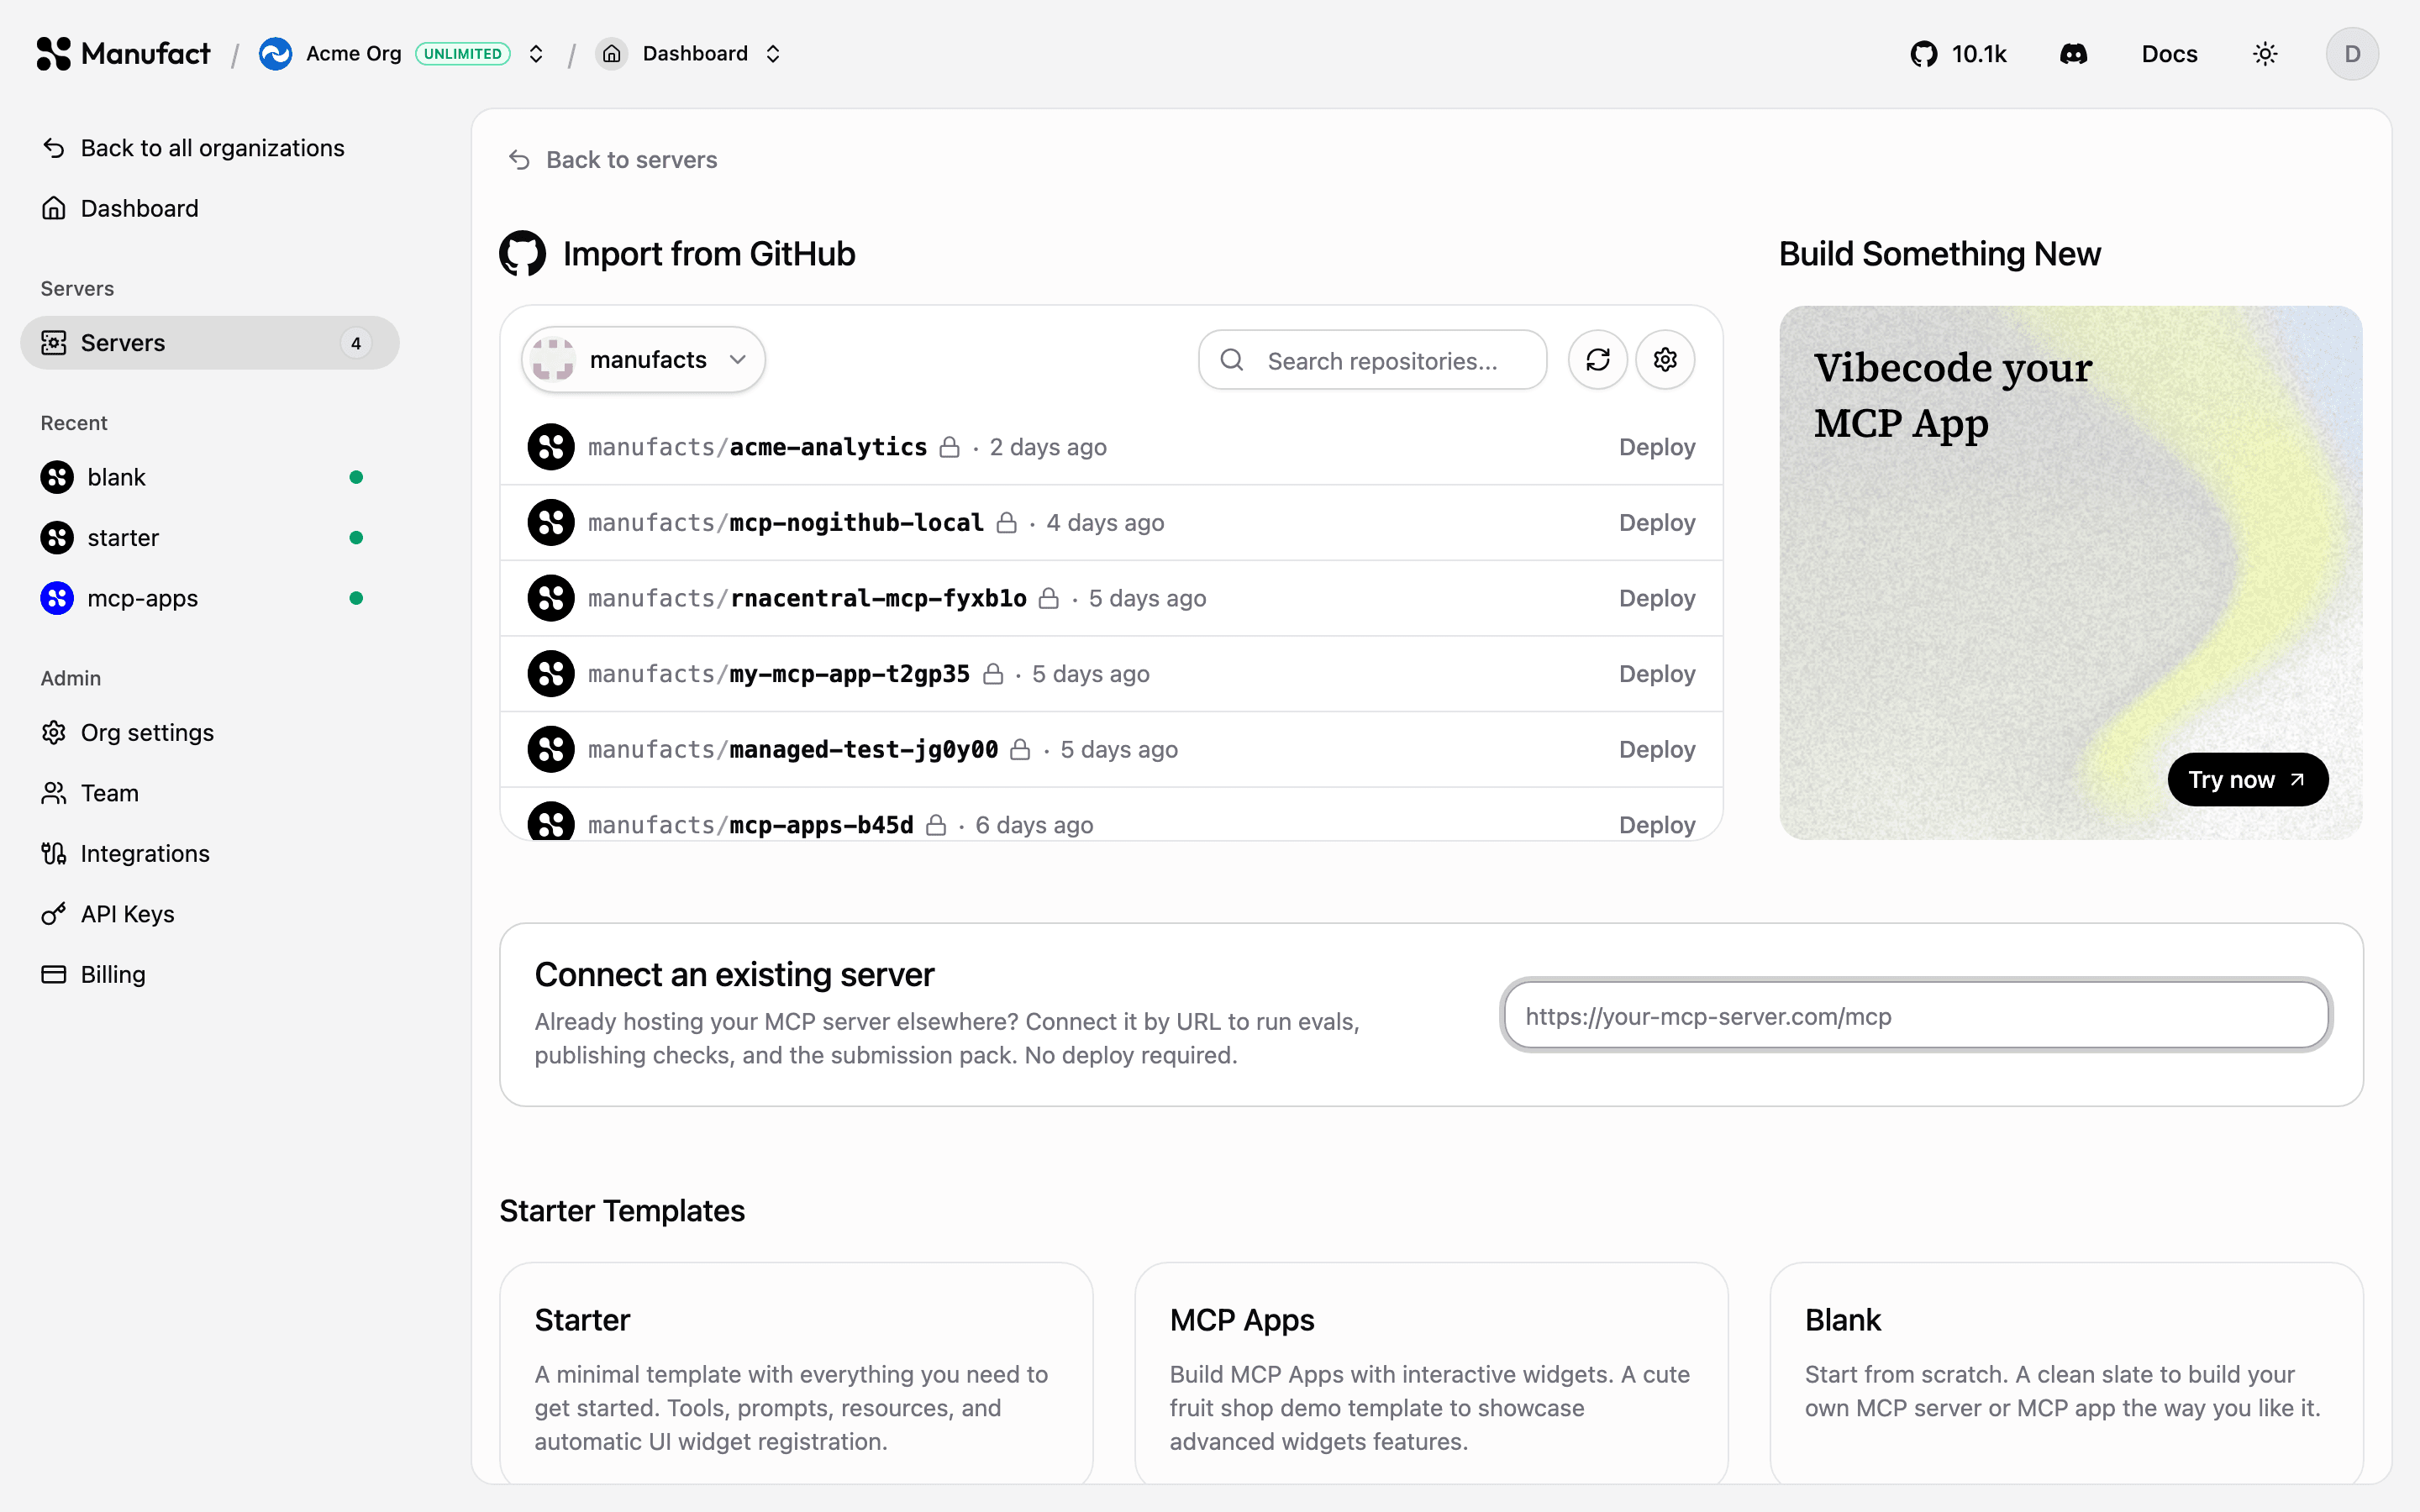
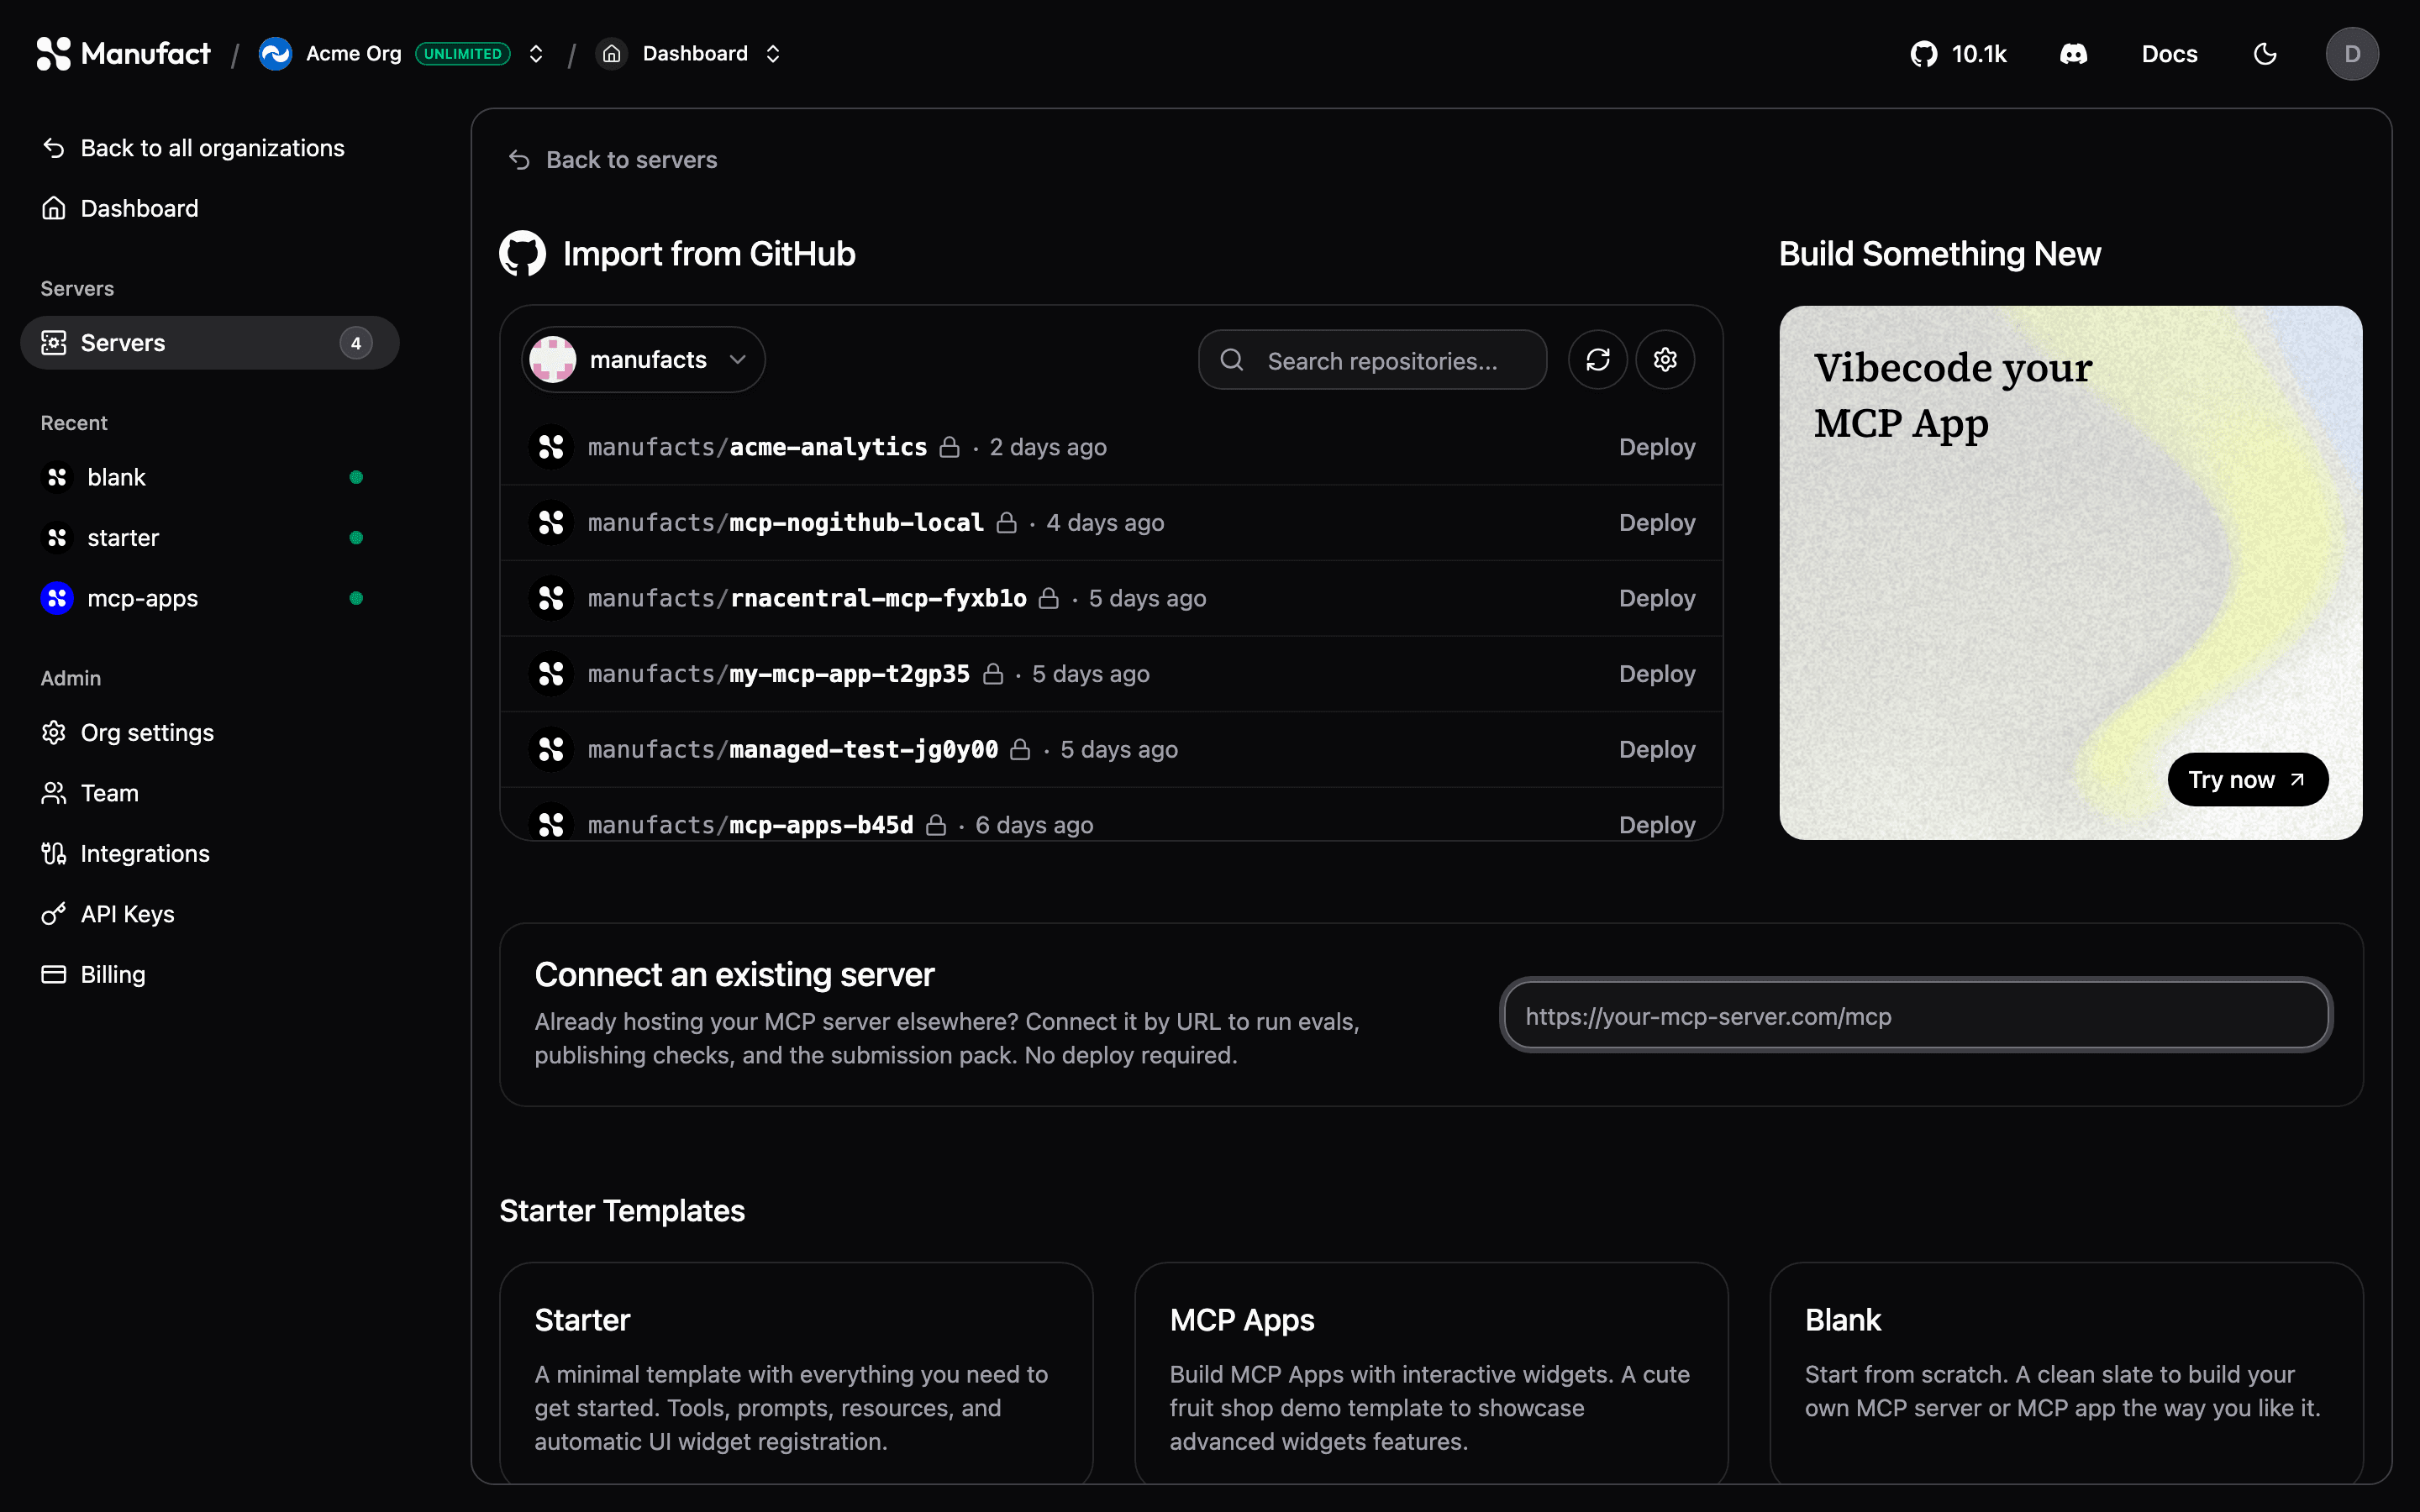
- Go to Servers and click New Server.
- Choose Import from GitHub.
- If this is your first deploy, connect the Manufact GitHub App and grant it access to your repository. See GitHub integration for details.
- Pick the repository you want to deploy.
3. Configure the deployment
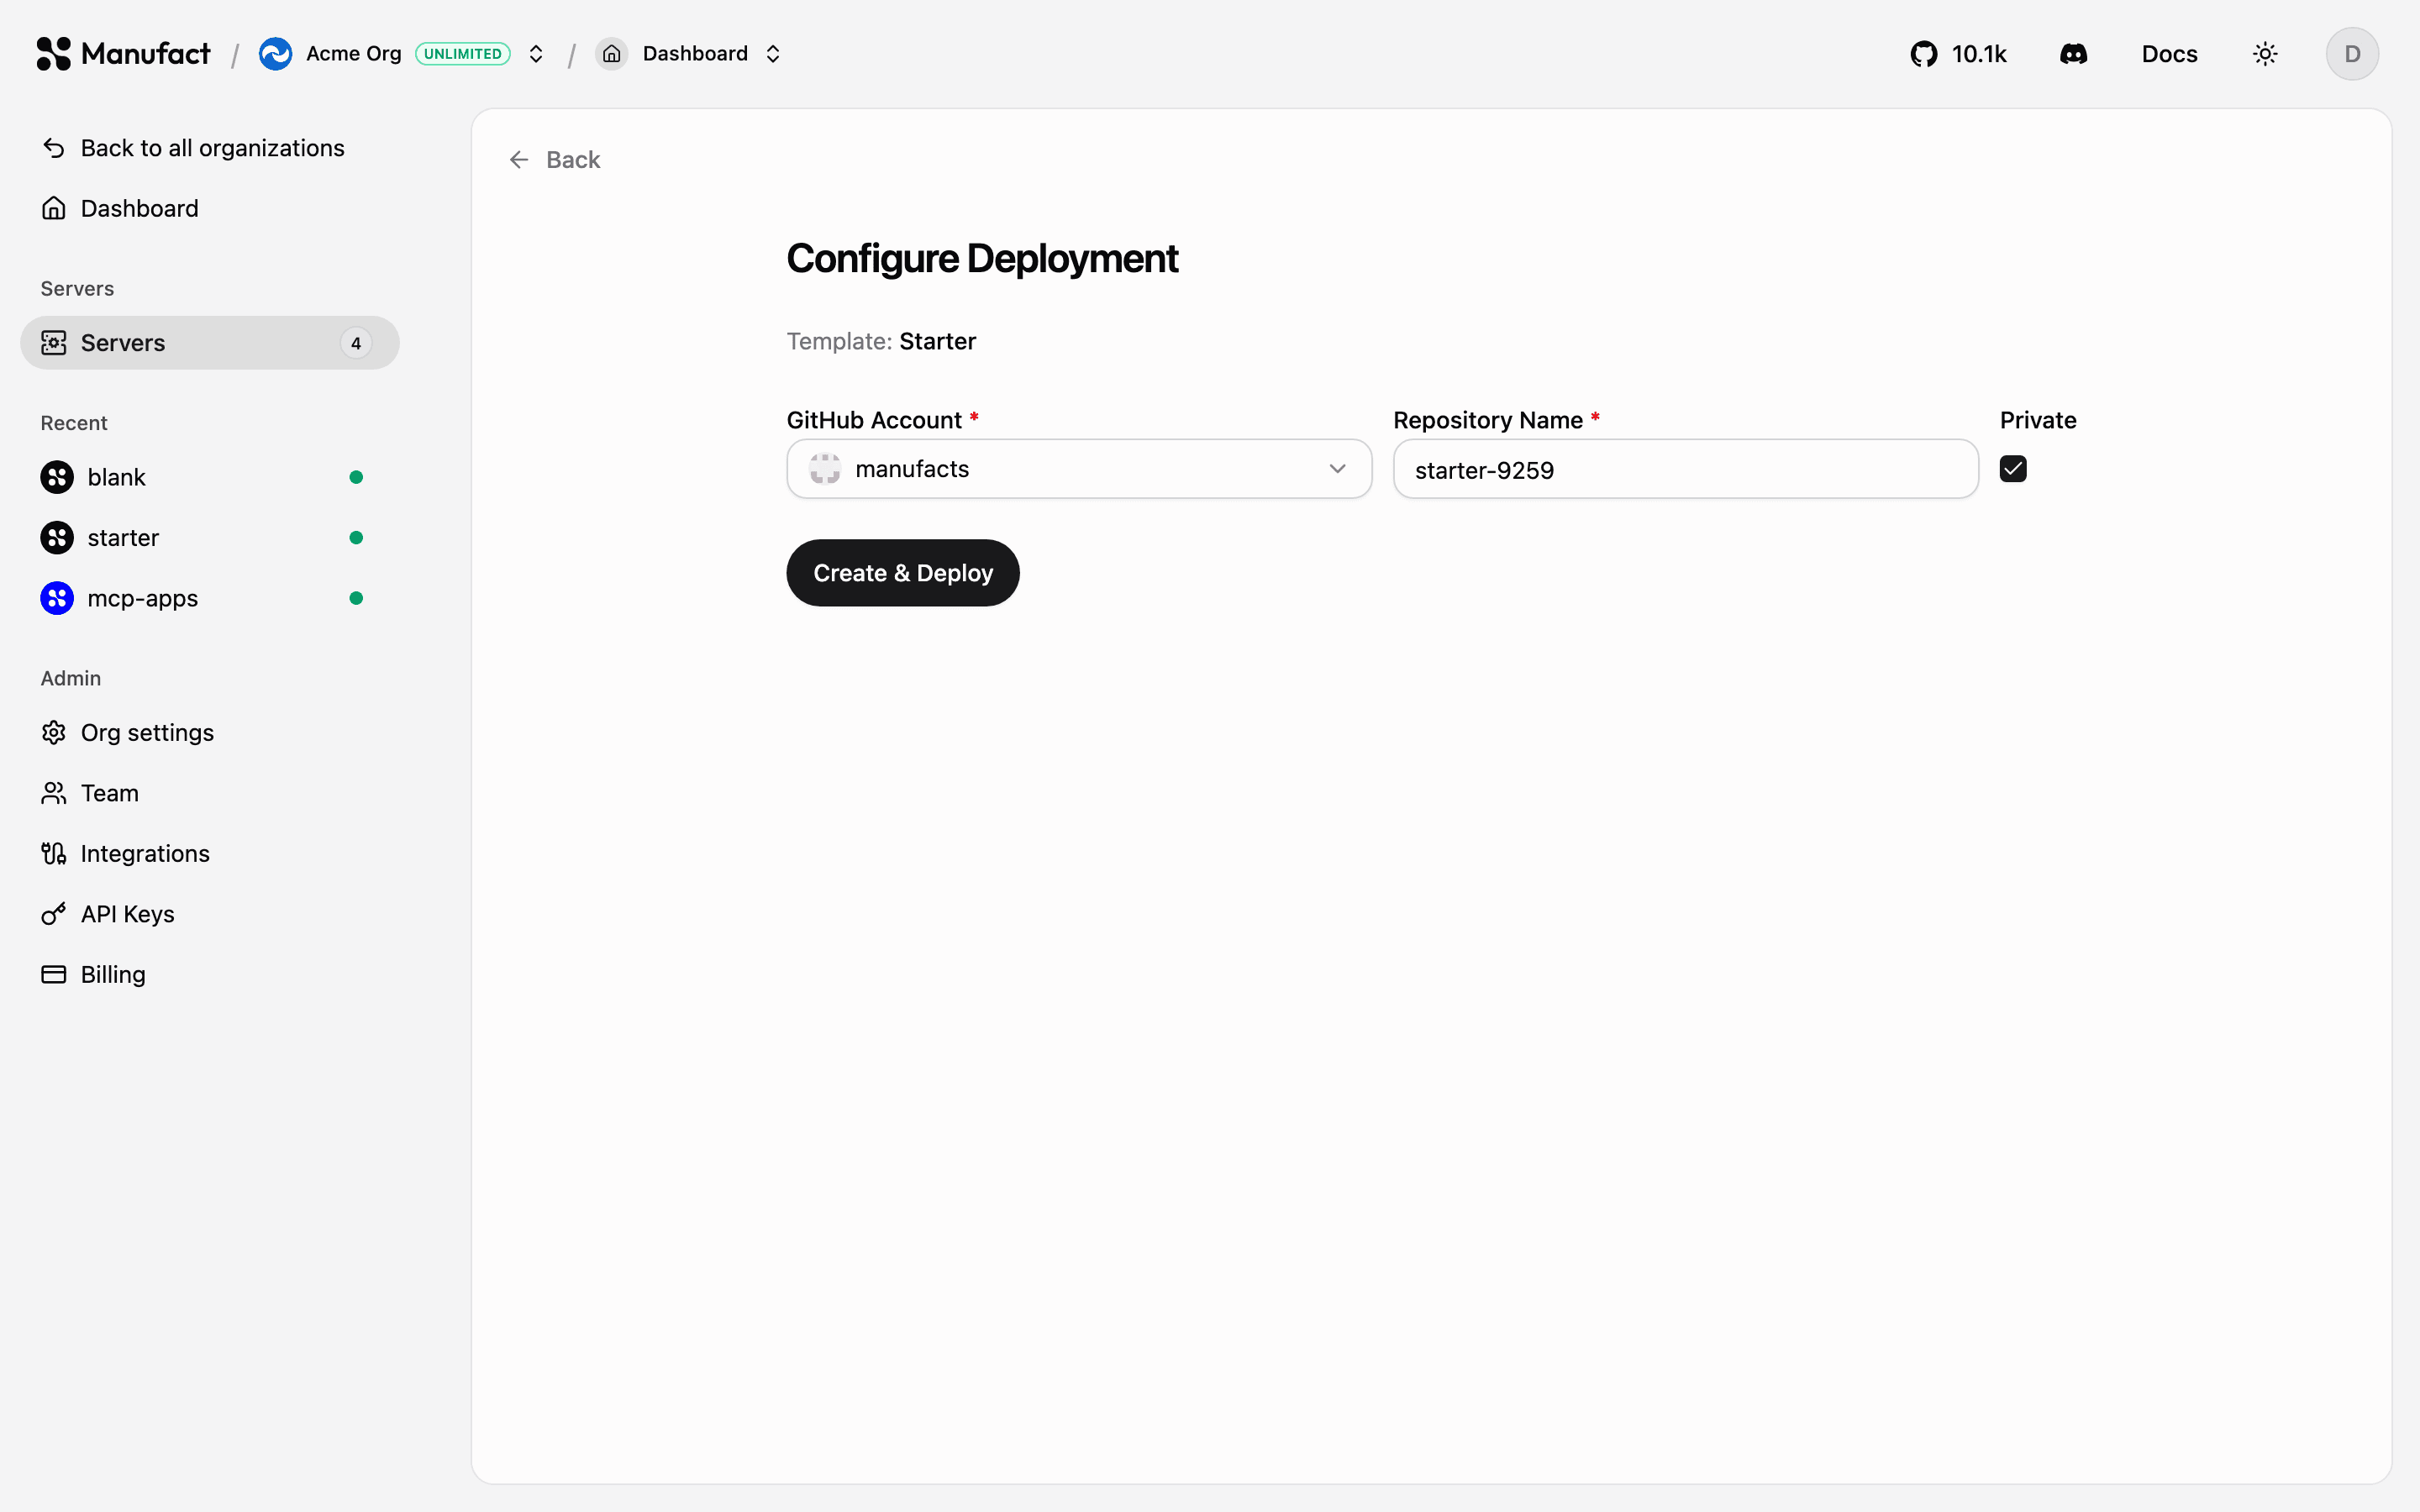
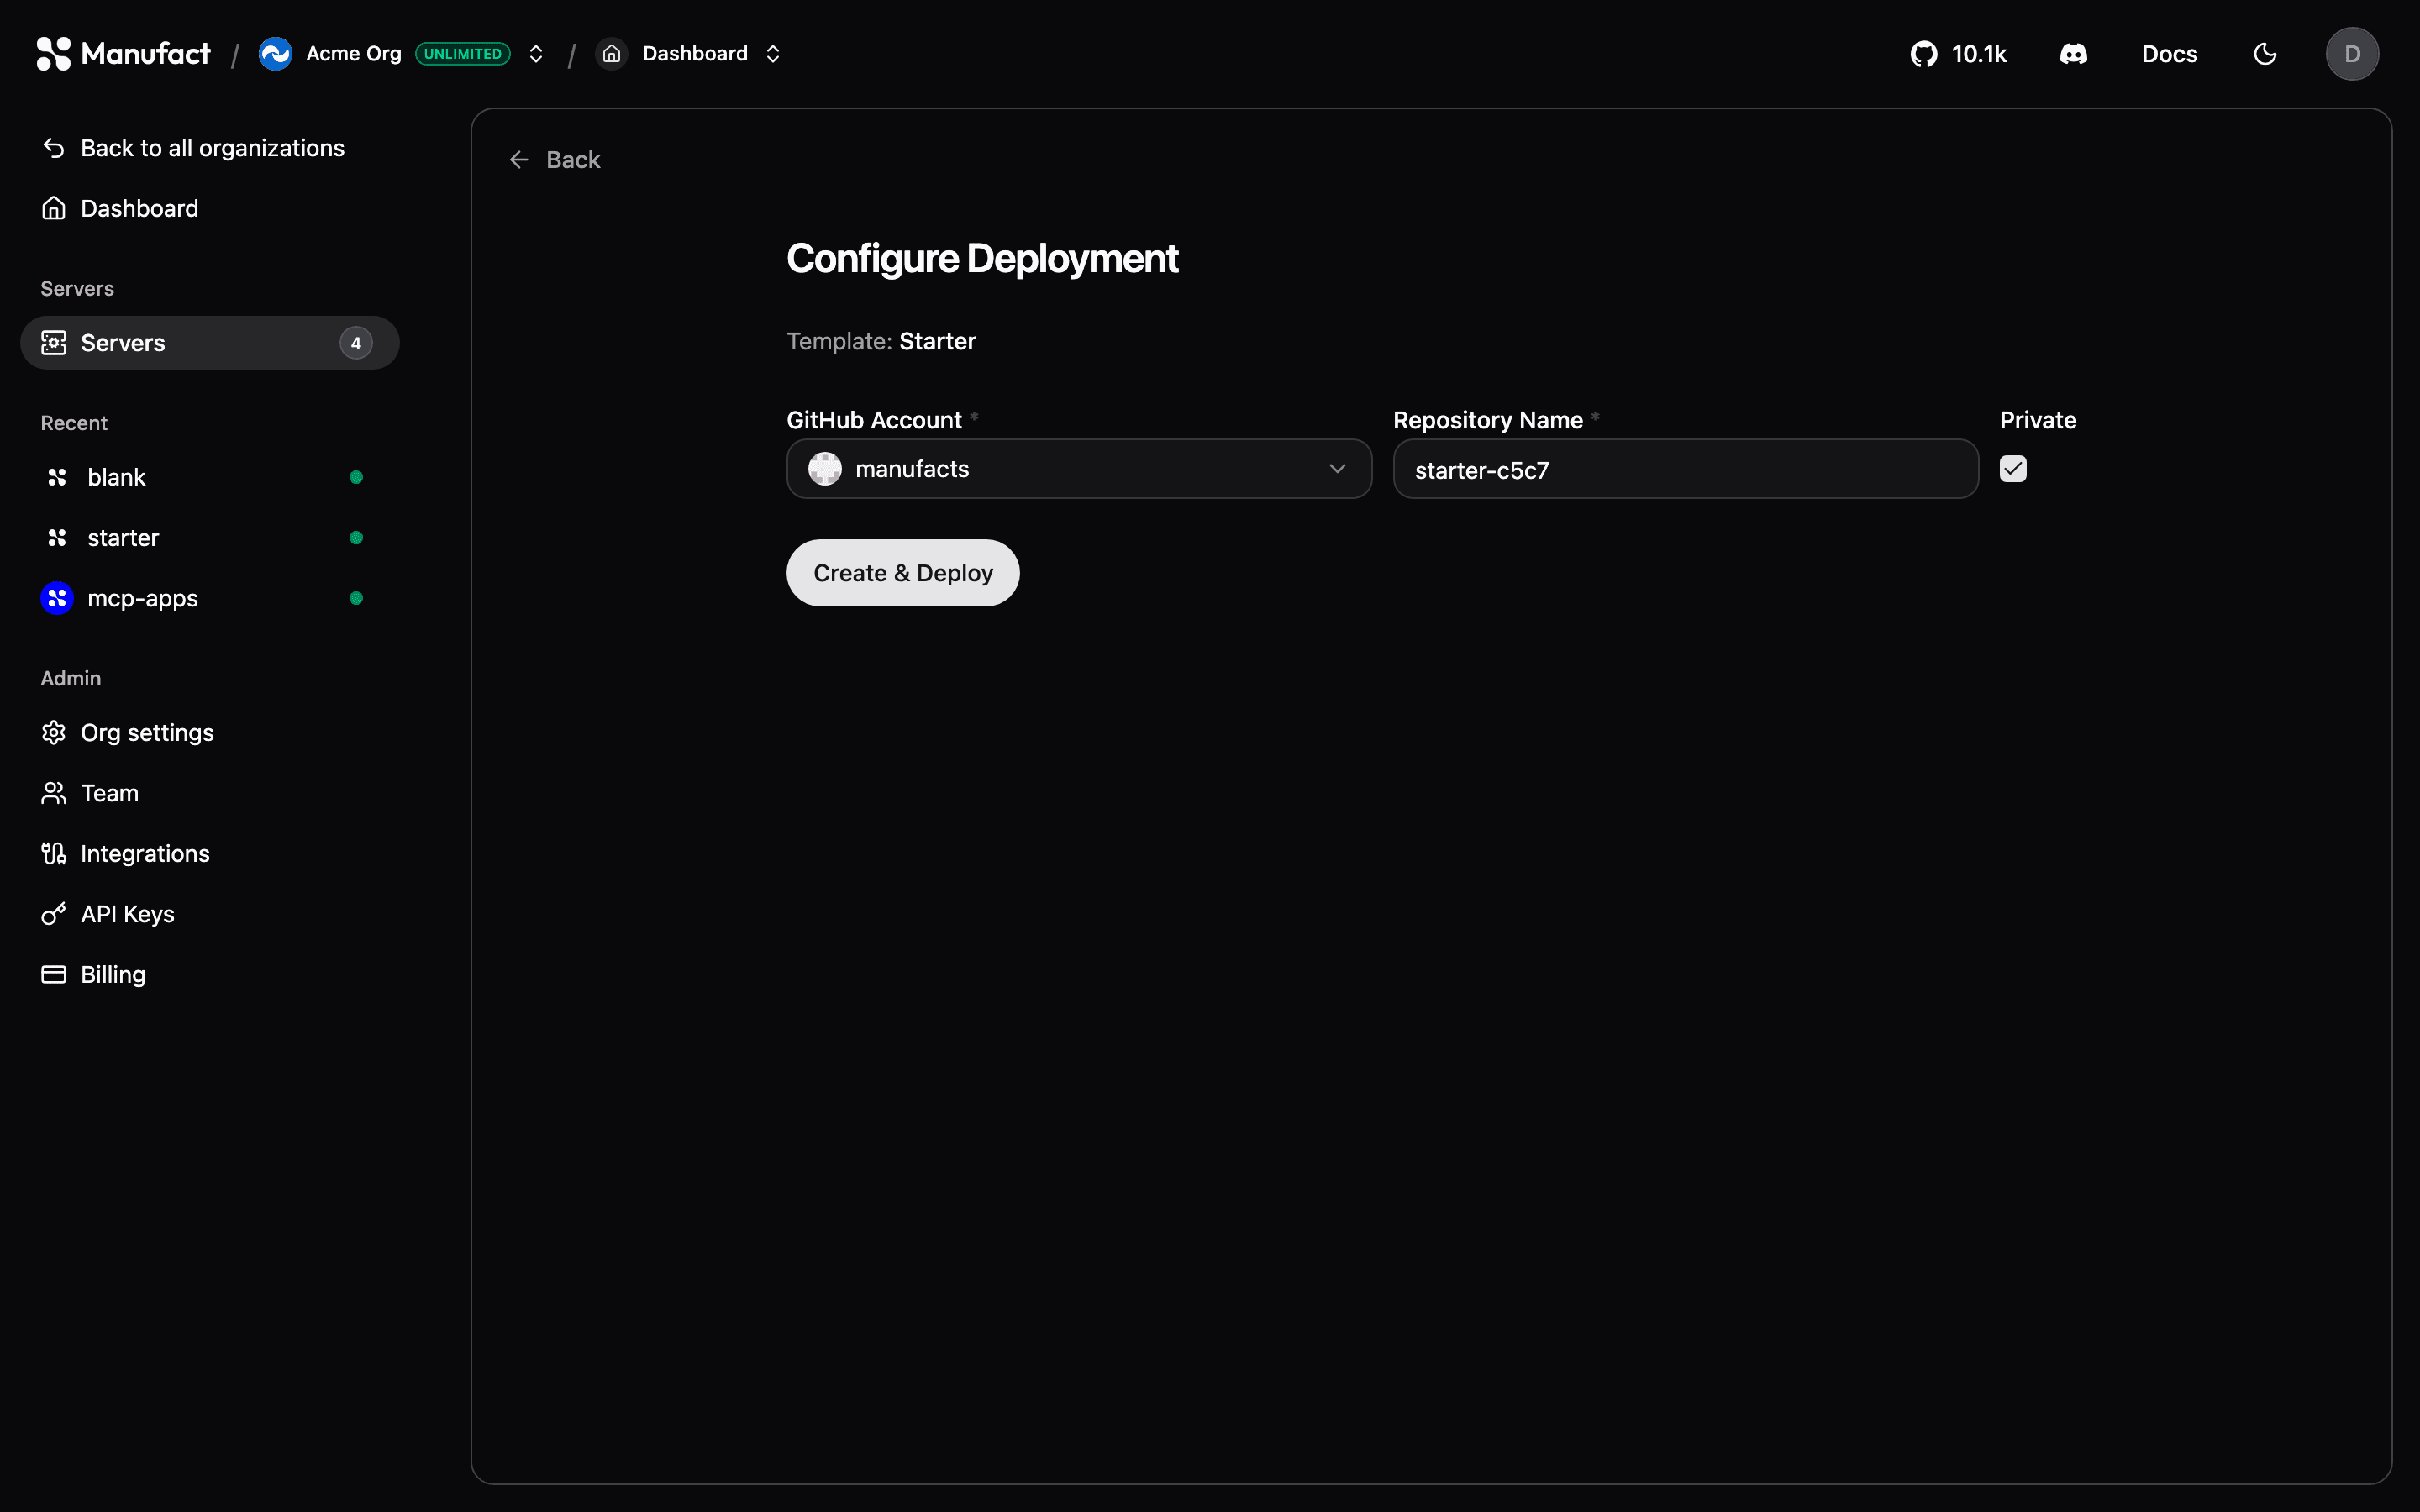
On the Configure Deployment screen:
- Branch: the branch to deploy as production (usually
main). - Region: leave on
AUTO, or pick US / EU / APAC on the Startup plan and above. - Environment variables: add any secrets or config your server needs. You can also paste the contents of a
.envfile to fill them in at once. - Advanced configuration (optional), set a root directory for monorepos, watch paths, a Dockerfile path, or a framework preset. Manufact auto-detects most setups.
Click Deploy. The pipeline clones your code, analyzes it, builds it, deploys it, and runs health checks before routing traffic to it, you can follow each step live.
4. Get your server URL
Once the deployment is healthy, your server is available at its gateway URL, shown in the header of every server page:
https://<your-slug>.run.mcp-use.com/mcpCopy it from the URL chip, or customize the slug and add custom domains on the Domains tab.
5. Connect a client
Click Add to client next to the server URL to get one-click installs and ready-made config snippets for Cursor, VS Code, Claude Desktop, Claude Code, Gemini CLI, Codex CLI, and the mcp-use SDKs. See Connecting clients.
You can also test immediately in the dashboard: the Chat tab connects an agent to your server, and Tools, Prompts, and Resources list everything your server exposes.
Next steps
Browse templates
Deploy-ready scaffolds, OAuth providers, example apps, and other MCP frameworks.
Deployments & environments
Automatic deploys on push, preview environments per branch.
Usage & traffic
See who is calling your tools and from which clients.
Publish checks
Validate protocol compliance before distributing your server.